Scheduler
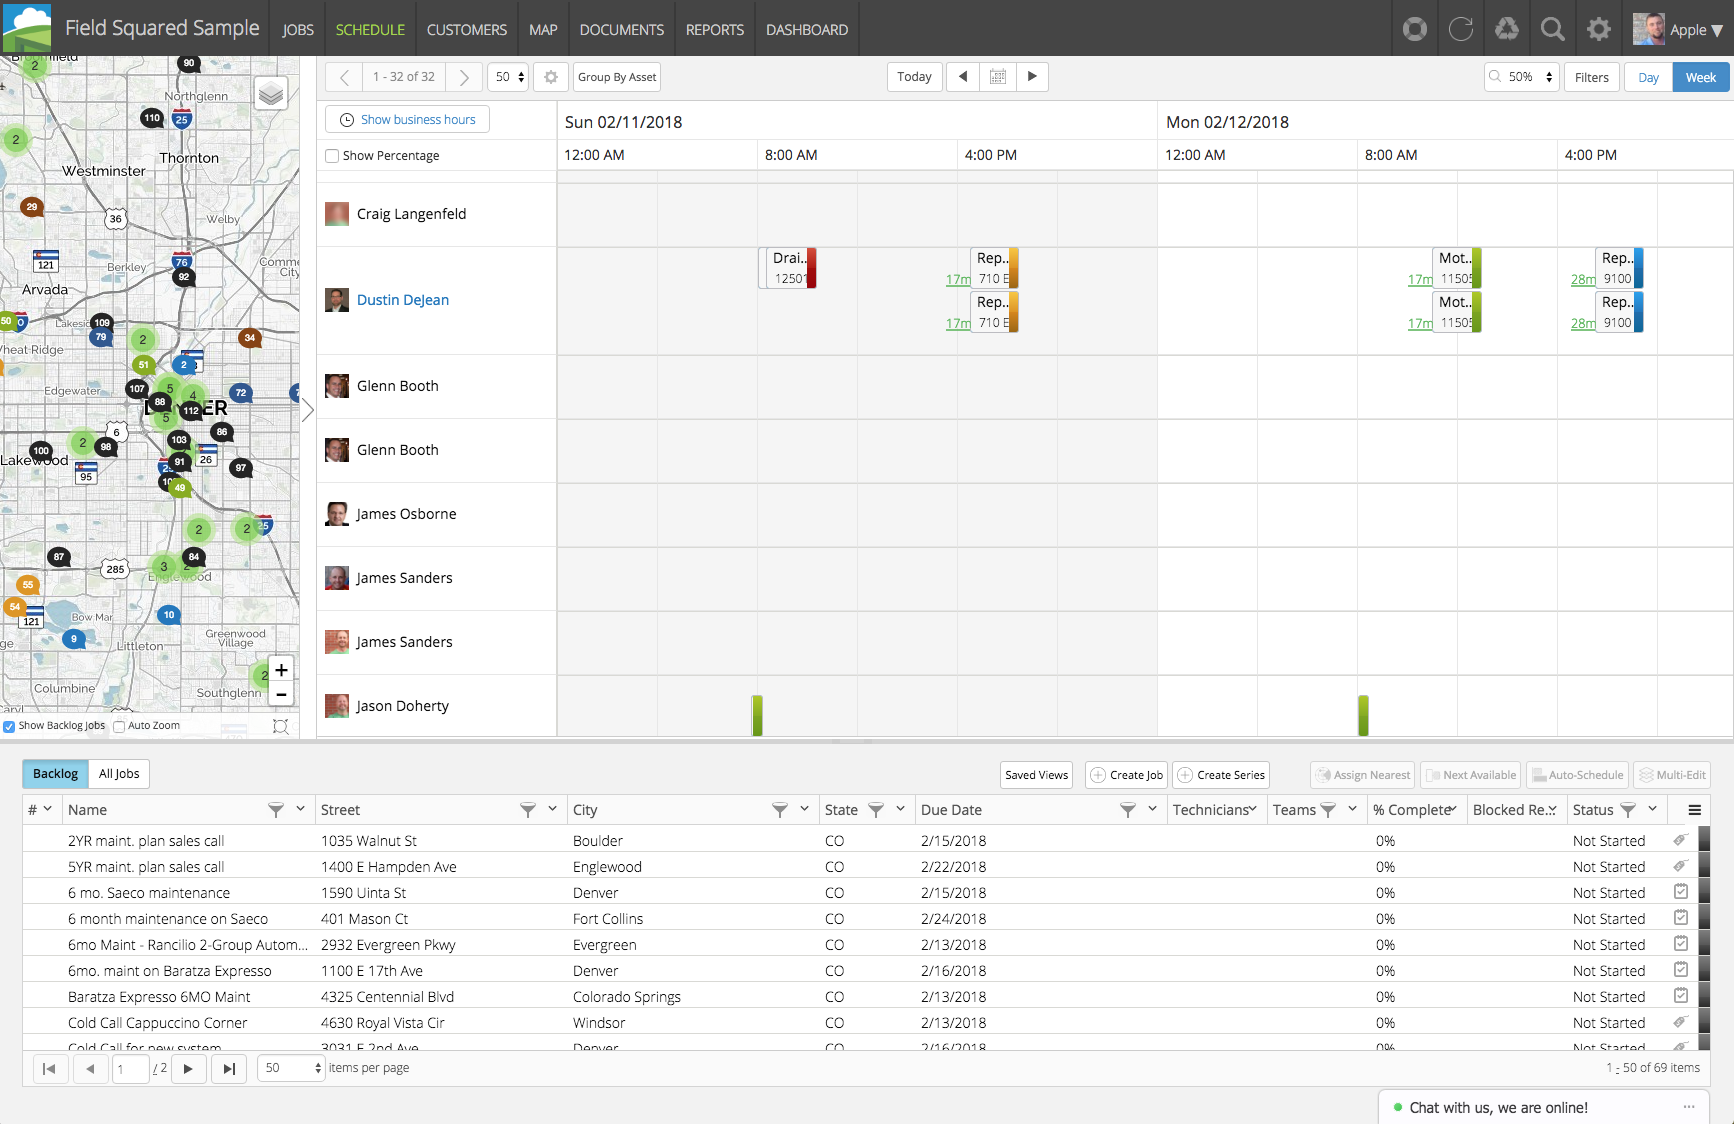
The Schedule tab provides a timeline view of scheduled tasks, grouped by either assigned users or parent assets. This tab also provides a map as well as a grid of tasks, giving you all the tools necessary for scheduling and organizing tasks in one place.
- The scheduler can be viewed by either day or week format. Depending on the chosen view, the navigation buttons will progress the schedule ahead or back, while the calendar can display a specific date.
- There is also the option to toggle the calendar view between showing a 24-hour day or the business hours defined in settings.
- The list of users or assets can be displayed by 10, 25, or 50 per page.
- Task schedules can be updated by dragging the task between users, to different times, or dragging and dropping from the backlog.
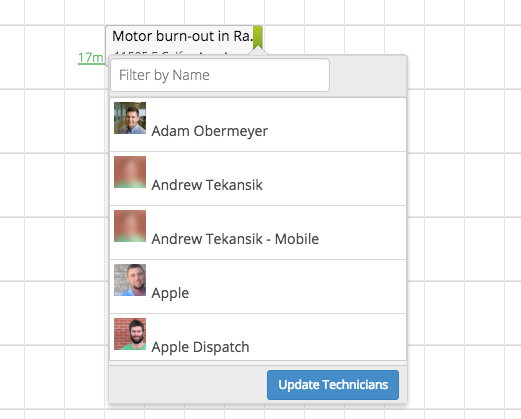
- From the task, you can add users, unschedule the task, and, when double clicked, open the task editor.
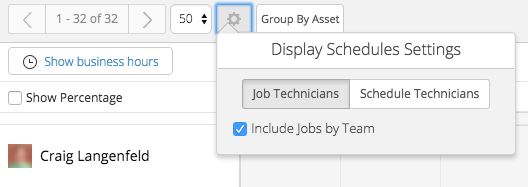
- If grouped by user, there are two ways to organize the scheduler: 1. by task or 2. by schedule.
- If the schedule grid is enabled, users can be assigned to individual schedules instead of the task. You can also choose to show all tasks assigned to the user’s teams.
- The default settings show tasks grouped by task user and tasks by team are not shown. These options are available under Display Schedules Settings.
- If Show Percentage is selected, the percentage of available work time used will appear under each user.

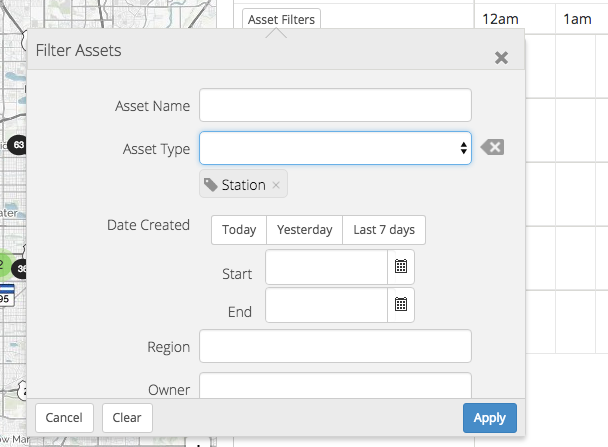
- If grouped by asset, the assets listed down the left side can be filtered by both standard and custom fields. The custom field filters will be generated upon picking one or more asset types.
Map
On the left side of the scheduler, there is a map where the tasks can be displayed as icons on the map.
- Scheduled task icons are colored the same as the user name to which they are assigned.
- Backlog task icons can be toggled on and off.
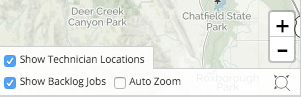
- If the scheduler is being viewed by day, you can also choose to display user locations on the map.
- If the auto zoom function is enabled, whenever the scheduler changes, it will move and focus the map on the extents of the visible tasks. You can also snap to these bounds by pressing the zoom to extents button, which is the small magnifying glass in the lower right of the map.
- The map can be resized by dragging it left to right, or expanded/collapsed by simply clicking the arrow on the map drawer bar.
- The map has four display options, which can be selected from the layer icon
 in the upper right:
- Map: basic map with labeled streets and locations, bodies of water, parks, etc. are color coded
- Satellite: photo map with no labeled streets or locations
- Light: basic greyscale map with labeled streets and locations
- Dark: basic map with labeled streets and locations with a black background and grey labeling
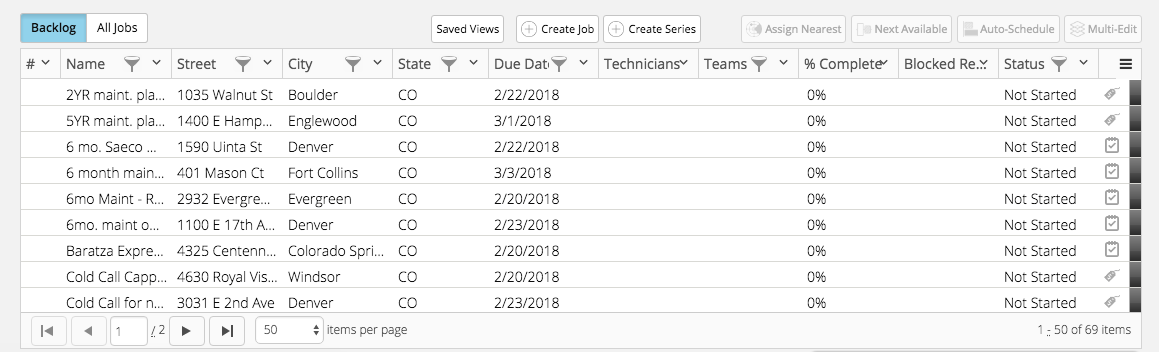
Backlog
- At the bottom of the page, the backlog is available to sort and filter.
- The view can be toggled between backlog (unscheduled) tasks and all tasks.
- The backlog can be resized by dragging the handle up and down.