Contacts
Contacts in the Field Squared app are used to model people or customers in your system. If you have a CRM system, then Field Squared Contacts are the equivalent of a contact record. If you have a work management system than managers millions of subscribers, then this is the equivalent of your Customer or Subscriber records.
Contacts model a customer/subscriber/person/company or address for whom work (eg. Tasks/Work Orders) is performed. In most cases for most Field Squared customers, the contact records will be sourced from your CRM system or your customer database.
Adding contacts is quick and highly customizable within the Field Squared App Builder.

There are currently three ways to add contacts using Field Squared:
- Create contacts inside the apps (instructions below)
- Import contacts from CSV files – see the section on importing Customers from CSV file
- Sync contacts with a third party system using an integration
On initial setup, when you have a significant amount of contacts to add at once, the second option of importing will likely be your best option. If you just have a few contacts to add, the first option to manually add contacts is sufficient. If you've got a large customer database you want to keep in sync with Field Squared, please contact your sales rep to discuss adding an integration to that system into your Field Squared installation. We can work with almost any customer database or CRM system.
This article will cover configuring contact screens and manually creating contacts inside our apps.
Custom Fields
The first thing to do before you add any contact is to head over to the App Builder section and click the contact button. Here you'll see two tabs, custom fields and customer settings.
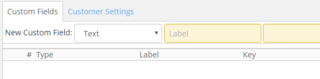
The Custom Fields tab will include any extra information you want to associate with your contacts. You can add in things like photos, team assigned to, a barcode scanner, and many more. You can add as many as you want. Custom fields for contacts are the information you will actually see in the app.
Let's add a few fields in for our contact information.
We're going to add 4 custom fields to our contacts template. Each being different type of field. The four we are adding in this example are Segment, Text, Core Team List, and Title.
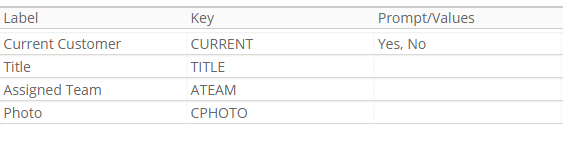
Here, the Segment type is labeled Current Customer, the Text type is labeled Title, the Core Team List type is labeled Assigned Team, and the Photo type is labeled Photo.
Notice each field has its own unique Key value. This key value must be unique to every field, because it is what is called upon when using expressions to automate data input.
Note: the Segment Type labeled Current Customer also has Prompt/Value information. This example is a simple yes or no and appears as a yes or no button in the mobile app.

Customer Settings
The Customer Settings tab is where you can adjust certain settings for all your contacts.

As you can see you can set visibility settings in meters. Meaning your crew would only be able to see a contact on the map when they are 500 meters or closer. The contact icon lets you add an icon for your contacts.
The two options boxes are there to show related documents for contacts as well as an option to filter by team. When this option is selected only teams and their members who are assigned to this contact will be able to see them in the app.
Creating a Contact in Web App
To create a contact start by clicking the the Customers tab in the main interface. If you haven't created any contacts yet, then the screen will appear blank.
Note: For most Field Squared customers, Contacts are often just synced from your CRM or customer database and that how they'll get into the hands of your field users. You can also create customer accounts manually, either in the Web App or on your tablet or smartphone in the field.
Click the Create Customer button. You'll then see the default information fields for each contact.
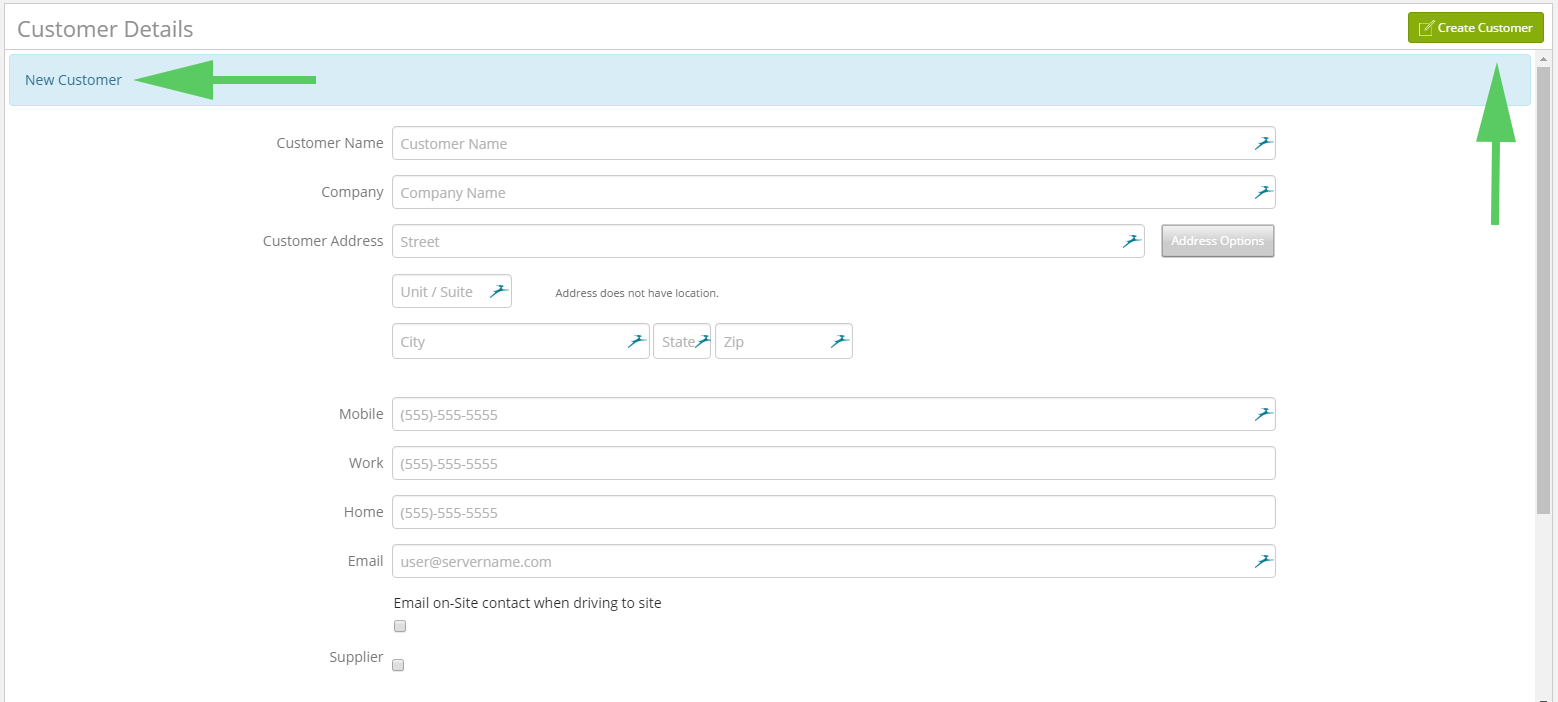
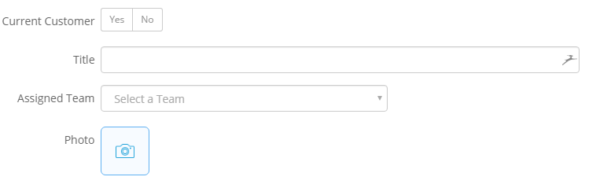
When you scroll down you'll see the custom fields we entered earlier.
Fill out the information for the customer and save. You have just created a contact in the Web App. You will now see this contact in the list to the left and you'll also be able to search for this contact as well.
Field Squared Contacts In The Mobile App
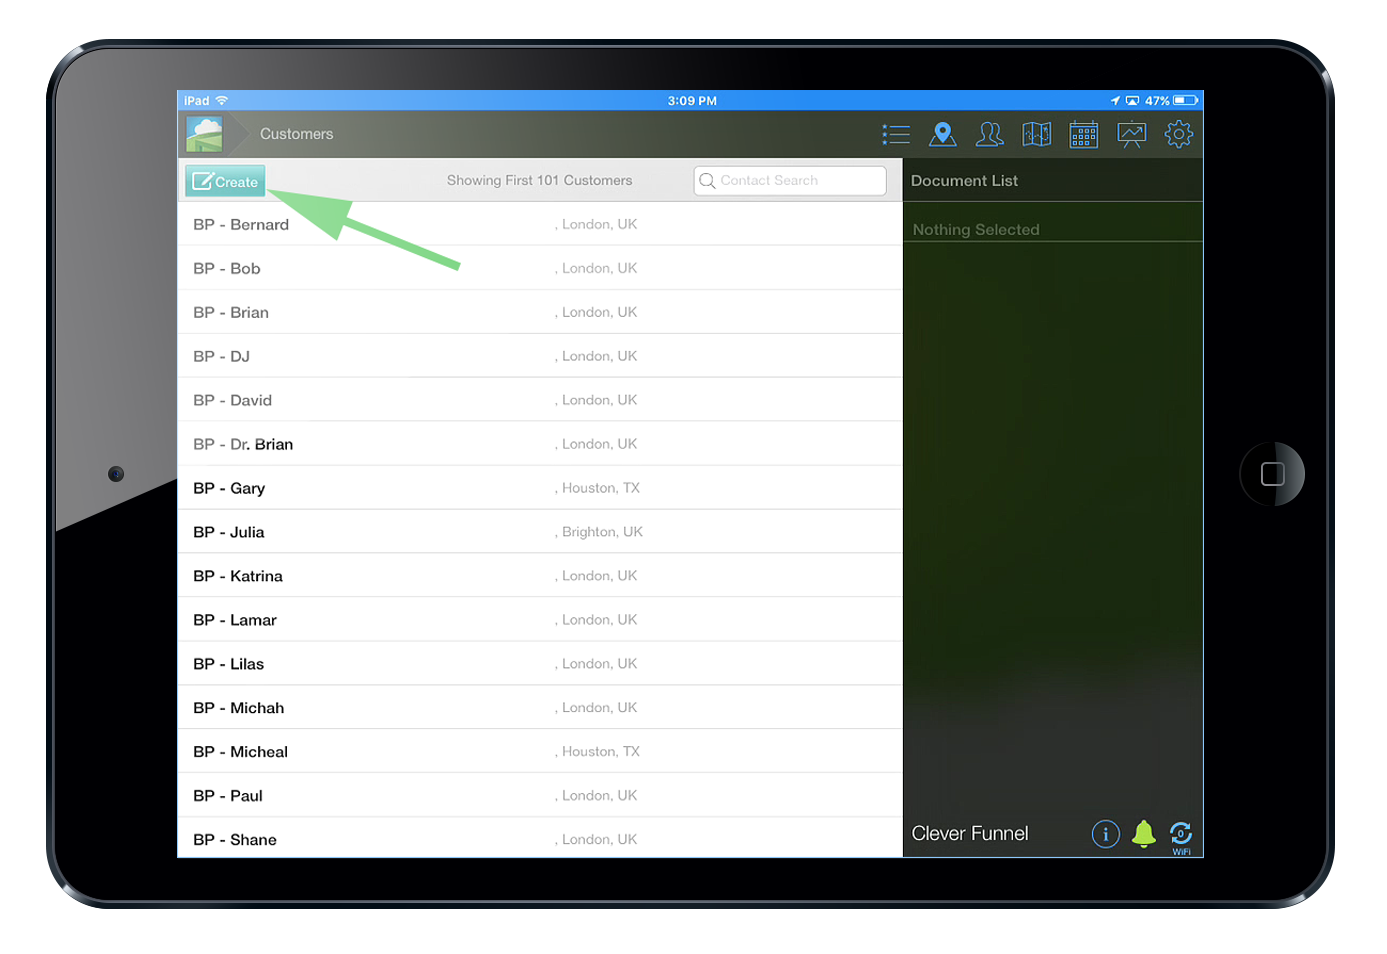
Ideal for field crews on the go, creating contacts in the mobile app is quick and easy just like in the Web App.
Start by clicking on the Create button on the top left of the screen.
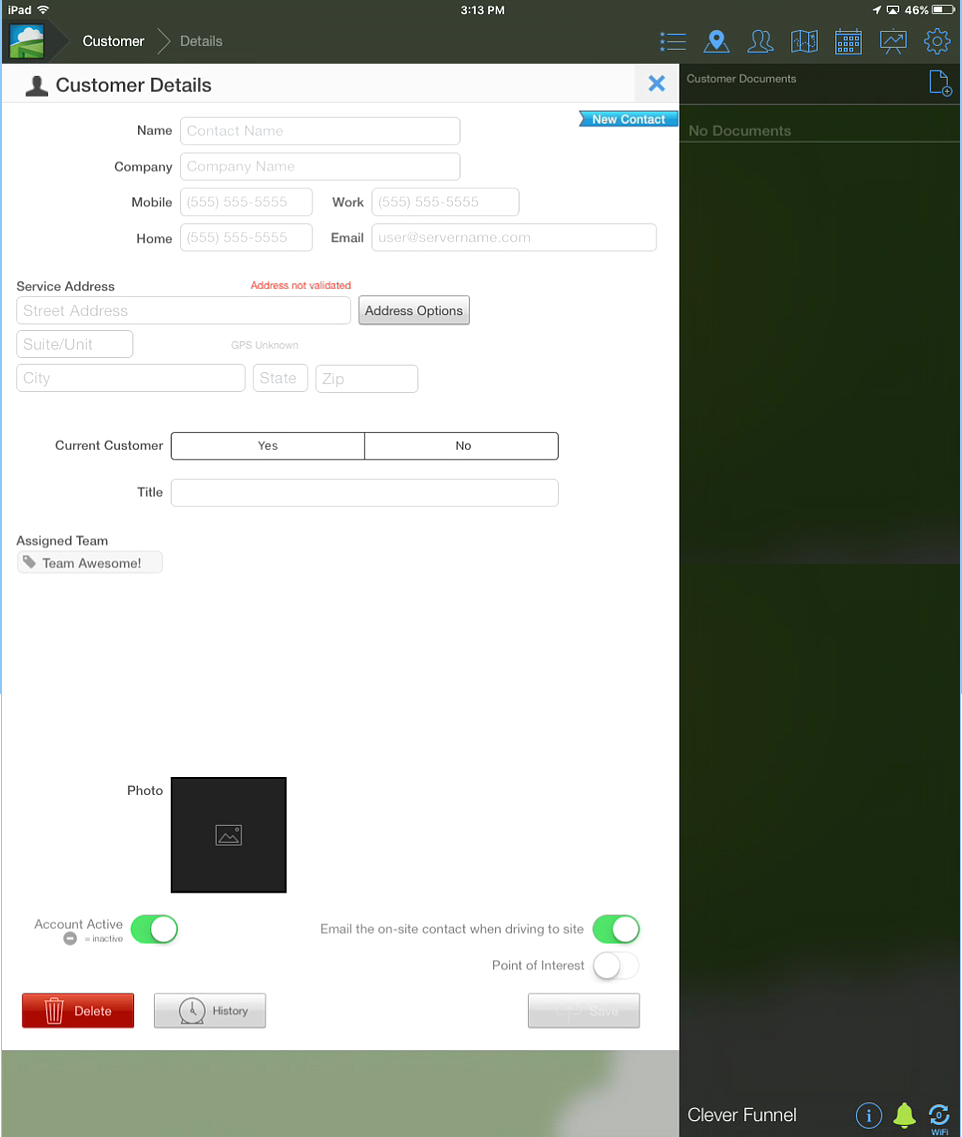
NOTE: the assigned team field is pre-populated based on the team the current use is assigned to. In this example, Team Awesome. If it were another user it would be populated with a different team name.
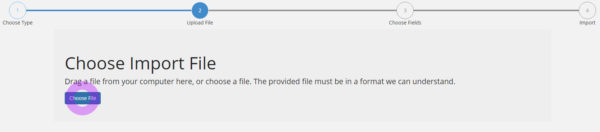
Importing Contacts From CSV
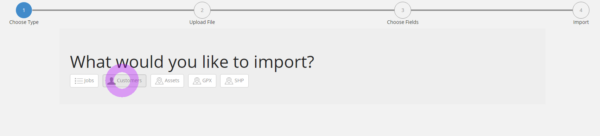
To save time and Field Squared has the ability to import contact records in bulk from .csv files. Start by heading over to the app builder and clicking the import button on the far right. You'll be greeted by an import wizard asking what type of import you would like. In this case we want to import customers.
When you click the customers button you will be taken to a second step, uploading you files.
Select your file
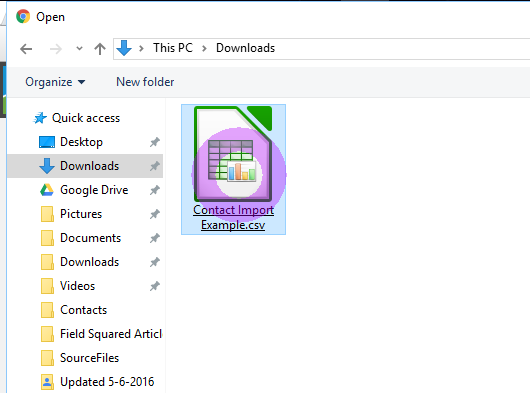
The system will upload your csv file. When the upload is complete you will be greeted by the third step in the process. Choosing which fields to import
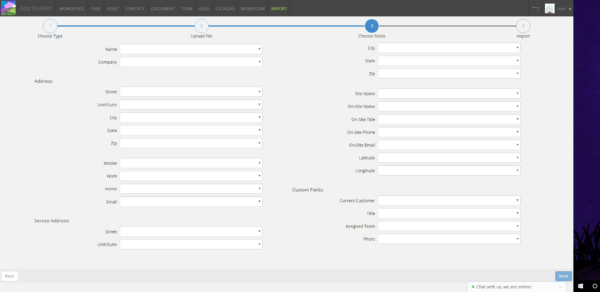
On this screen you can choose what to import. You can match your existing fields to the standard fields which are provided by Field Squared.
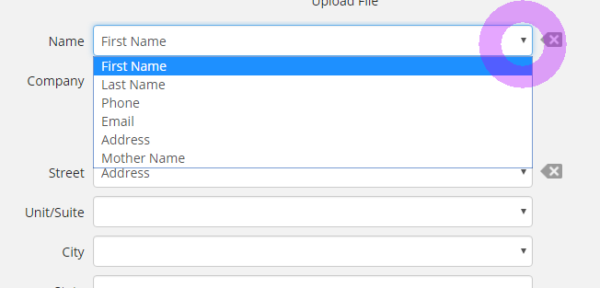
During this step you will most likely notice that your fields do not match up perfectly with the default fields provided. This is where customer Custom Fields comes in to play. In the custom fields section you'll need to add all your desired fields to match your own contact records.
In the example above there are only 4 custom fields, but you will find that you need more than that. However it's rather easy to add new fields.
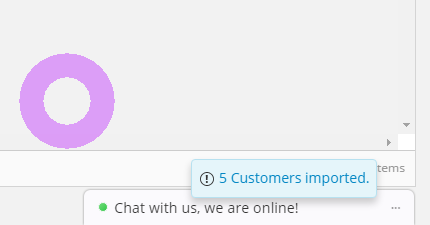
Once all this is done you want to click the save button on the bottom right of the screen. This button will save you contacts and redirect you to the home page where you'll see a small confirmation message.
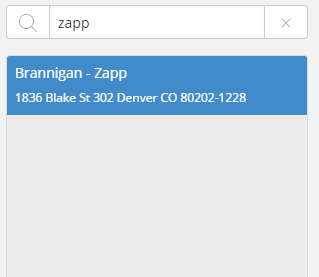
Just to be sure a contact was imported it good to confirm by clicking the customers tab and searching for a customer.
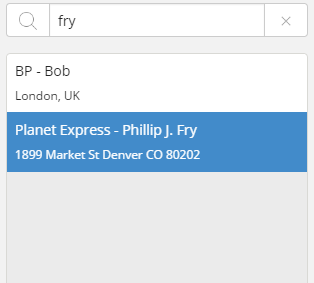
in this case our Fry customer was found.