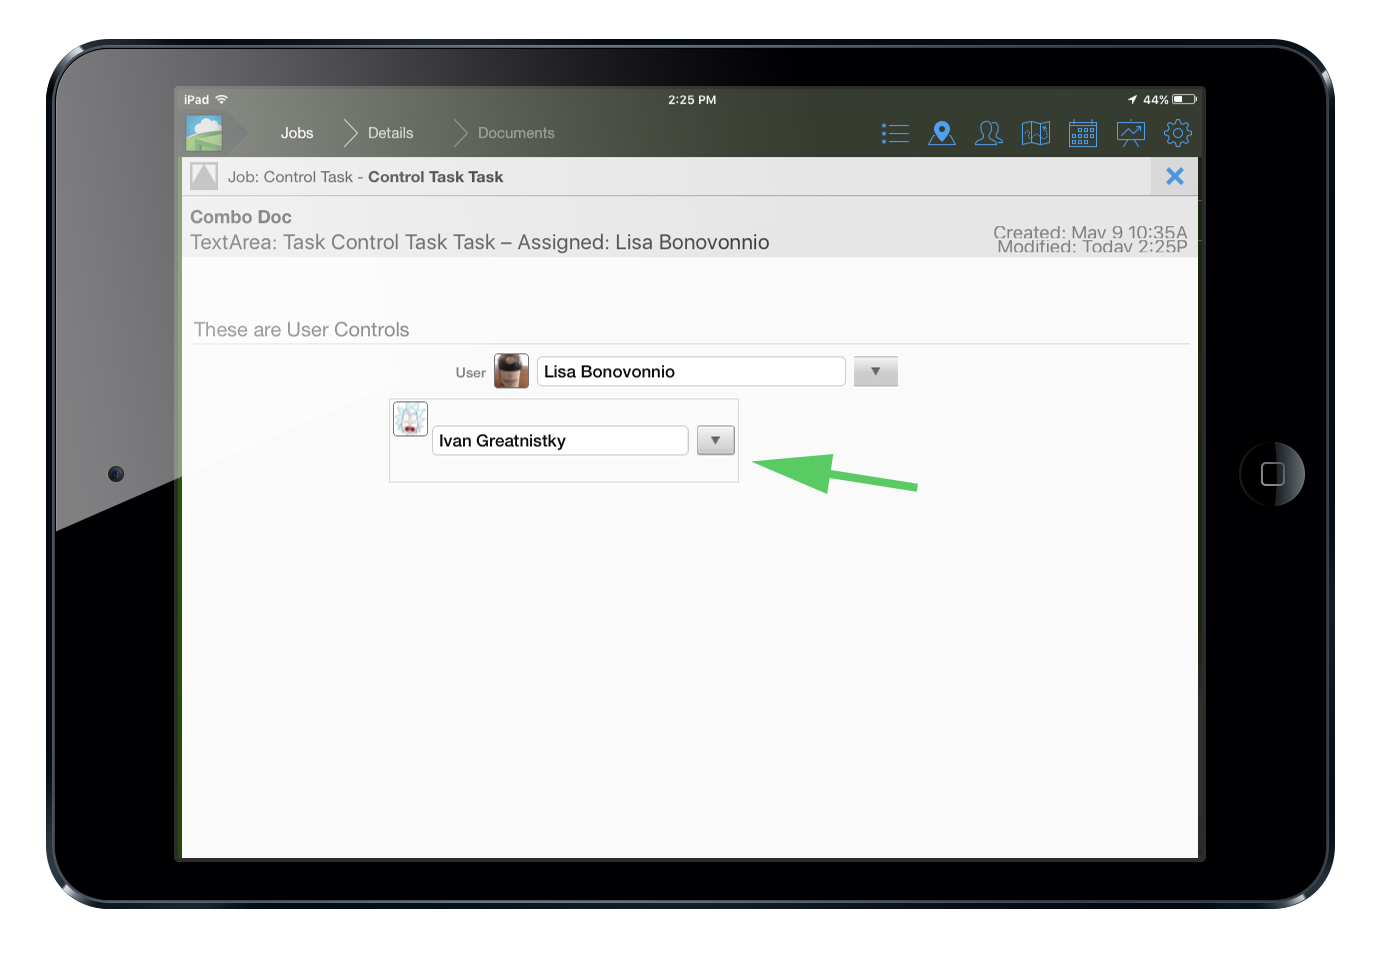
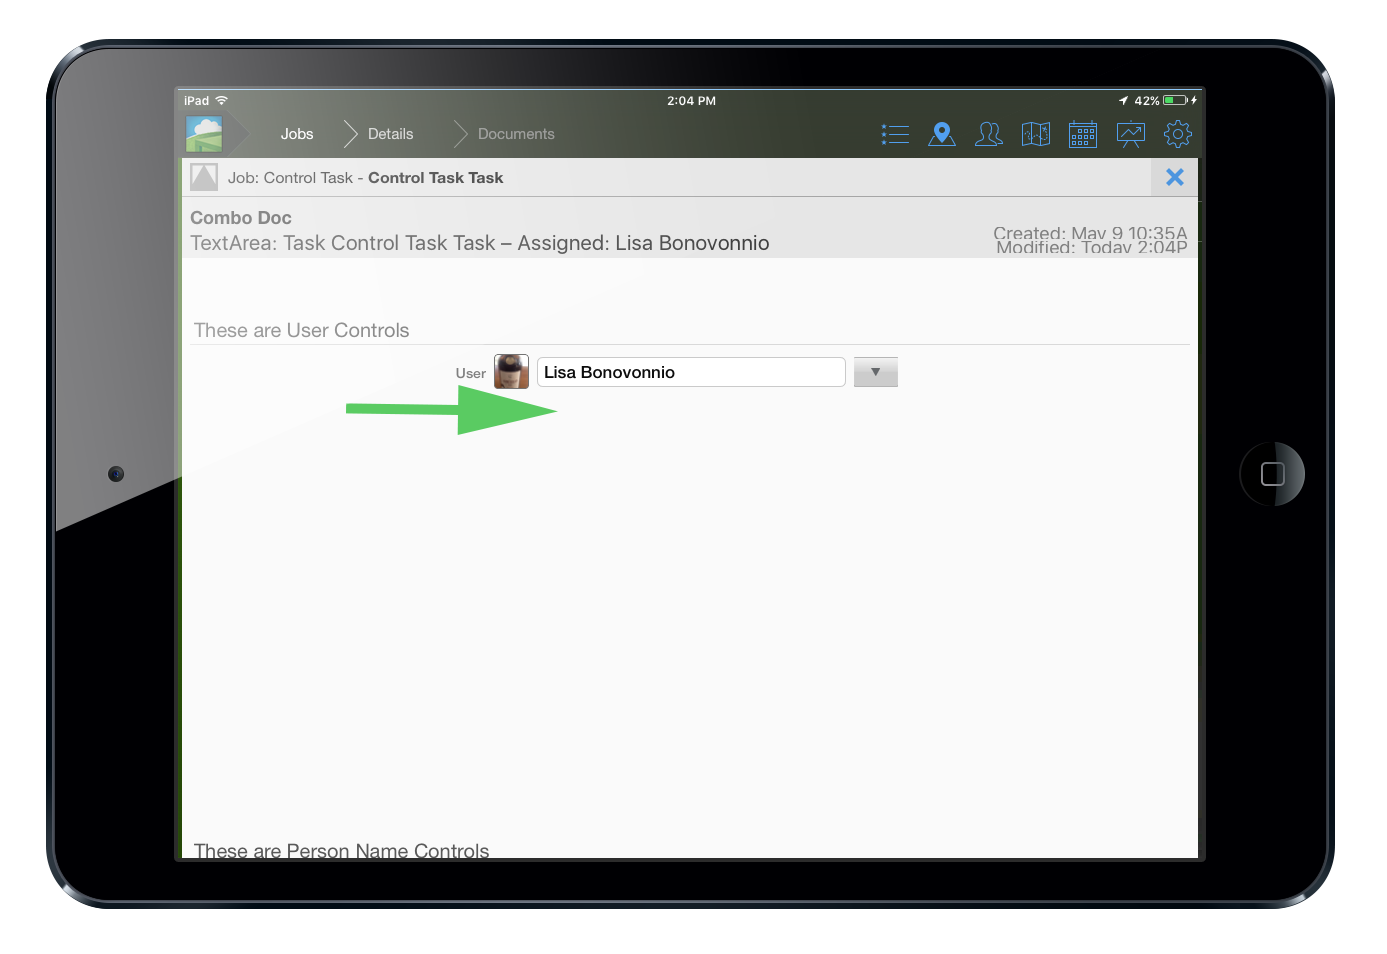
User Controls
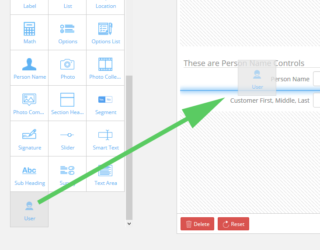
To add a user control simply drag the control icon to the document anywhere you wish to add such controls.
Settings
Next you'll want to configure the settings for the user control. Do this by clicking on the control in the document. You'll then see the settings panel on the right. Here you'll be able to change any setting you want.
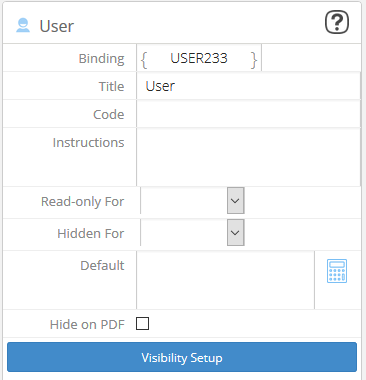
As you can see, there are settings for the binding, title, instructions and more.
There are also settings for Read-only and Hidden for security settings.
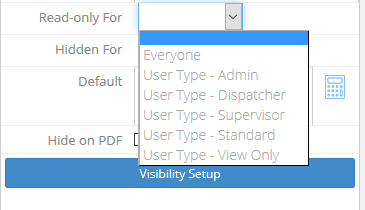
The Read-only for setting lets you set any control to be read only. Meaning it will not be editable or usable by anyone except users with designated user roles which can be applied in the user role settings.
The Hidden for settings works the same way as the read-only for option. Except it will hide the control in the document.

The flow version of use controls work exactly the same way as regular user control except they are used in a flow layout within documents.
These have their own settings unique to flow controls.
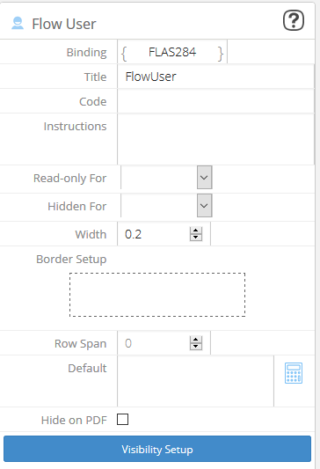
Flow settings have the added benefit of being customizable in row height, width as well as being able to add borders to each control.