Field Squared is an industry agnostic mobile first, field workforce application which adds the ability to gather data & report on any asset.
The App Builder is the starting place for building and customizing your company's field app. The Field Squared app workspace builder has ten sections each with their own subsections which feature various ways to configure your experience with the Field Squared app. From here you will be able to edit every word that is displayed on the mobile app in the field to be customized for your business. Everything is configurable.
Here's a quick breakdown of each section and it's sub-section.
Workspace
- General Settings
- Language Customization
- Schedules
- Integration Settings
Task
- Features
- Custom Fields
- Task Types
- Auto-Assign
- Task Status
- Backlog Sort
- Priority
Asset
- Asset Types
- Asset Settings
Contact
- Custom Fields page
Document
- Document Creator Page
Team
- Teams
- Custom Fields
User
- Users
- Custom Fields
Catalog
- Catalog search
- Tree
- Item Templates
- Raw Data
Workflow
- Workflow selector dropdown menu
Import
- Import screen
—
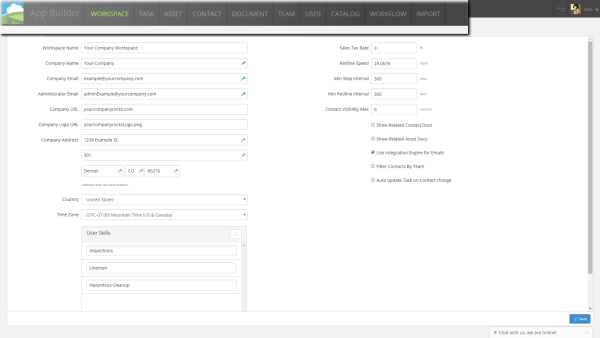
Workspace Editor
In Workspace editor, you'll find the General Settings tab where you can edit general information such as your company name, email, admin email, and more including sales tax rate. In this section you can also add or remove user skills which are used which you can later choose from when adding new users.
The Language Customization tab is where you can change the name of various headlines and titles which appear in the mobile app. For example. If you don't like the default "Task Title", or your company doesn't use that expression, you can change it to Job, Customer or something else. You can also add a plural version of titles if you know you're going to have multiple items, such as Jobs or Customers. It's a small change for sure, but it does affect how you and your team use the Field Squared app in the field. If you leave any of the fields blank, they will use the default titles if you have active data set for each field.
The Schedules tab lets you change your company's hours of operations globally throughout the app.In this example, the schedule is set from 8:00 am to 10:00 pm Sunday through Saturday. You can change the work days by selecting checkboxes next to each day. The clock next to the time is a fast way to select start/end times and can be adjusted in increments of 30 minutes. If you have a custom time you also manually type it in the time field. In this tab is also a break time which is adjusted via minutes. You can add or delete additional break times as well.
The Integration Settings tab is where the magic happens between Field Squared and your own office systems. Quick integrations include Quickbooks, Salesforce, Dropbox, and Box. These are the most popular and easiest to get going.
If you have a custom office system you'd like to integrate with Field Squared you can do so using various methods. The first type is a Database connection, the second type is a Web Service. These types of integrations are more involved than just using the presets as mentioned above.
Database connection require the type of database, what server th db is located at, the db name, port number, user name, password, and a Name for this connection as well as a short description about it.
Web Service connections are meant to be used with your own web service there are two types: None/Custom Header and Basic.
None/Custom Header is more complex since you must enter a Base URL for your service as well as any custom headers from you service to use with this type of connection. For detailed information on what http headers are, see here. https://www.w3.org/Protocols/rfc2616/rfc2616-sec14.html or contact your IT department for help setting up this type of connection.
Web Service is the same as None/Custom Header except you must also add a User Name to use your service.
Both types of web service connections will also require names for the connections as well as a short description about them.
Task
This section includes the settings which control what happens and what is displayed when viewing tasks/jobs within the Field Squared app.
The first tab called Features holds a checkbox list of features you and set to either display or not.
The second tab holds your Custom Fields and configuration settings for each one. For more information on using Custom Fields see here .
The third tab is for adding or deleting various Task Types. This is the section where you will be adding jobs and tasks, giving information about each task such as name, priority min, max, and average hours to complete, as well as assigning and icon to the task and choosing which skills are best suited for each individual task. You also have the option of choosing what template a task will be using. For information on how to create and use template see this article. The last set of option for each task is being able to choose whether or not to allow documents to be shown on the mobile app. For information on creating and using documents see this article
The fourth tab holds your configuration of Auto-Assigned fields. These include when a person is on site, on route, started, ended, etc… These options are activated or deactivated via checkboxes.
The fifth tab, Task Status is where you can add or delete the various status states of jobs. You can choose the name and color for each one as well as configuring automation triggers for each status type.
The sixth tab, Backlog Sort contains the configuration for task sorting options. Here you can add as many filters as you wish as well as being able to choose what sorting each will have and even a field to compare sorting options.
The seventh and last tab, Priority is where you can add or delete priority fields. Our example is a list of common priority types. However you can add and label any type you wish.
Asset
The Assets section is where you can configure what information and fields will be assigned to each asset type or category. In our example we have selected the asset 'Regulator 1-PH'. Ass you can see this is where we have configured the form that will appear to team members in the mobile application. Here we have fields for type, name, make, sku, and more. You can choose annotation colors, whether or not a particular asset is active, if it is a mobile asset, as well as choosing to use location tracking or not. This example is quite nice and shows what can be done with the various assets. You can even add custom fields to each asset type and add those the form as well. This section will be time consuming at first, but it will be the best thing you can do as this and Documents will be replacing all your handwritten processes out in the field.
Asset Settings tab is where you adjust what permissions assets can have. For example you can choose to have assets use GPS location tracking, scan and barcode tracking as well as the visibility. You can choose if assets are to be Read Only as well as being able to filter assets by team. It's all very comprehensive.
Documents
The Documents section of the app builder is the fun part of the builder. This is where you can transfer and digitize any and all paper forms you may have. In the left pane of this page is a draggable list of icons which represent various functions you'd normally find in paper documents. The icons are arranged in alphabetical order and each one can be dragged to the form builder preview. There are currently 52 item which can be dragged over to the preview pane. Options include things such as user's, contacts, text areas, checklists plus many more.
The middle pane is where you will preview any forms you are currently building. From here you can create new forms or use any existing forms you may have already created. In this example we have dragged over the Person Name, Check In, Date, Checklist, Text Area, Photo Collection, and Signature form controls.
On the right side of the screen is the settings pane for the form and each individual element within the form. Here we can see the settings for the Person Name element. You can see and edit everything in this pane starting with the name. You can code and instructions for what to do with this field as well. Below that is where you can control the security of each element. In this example we've chosen to make this field Read-only For user types View only and standard. Any role above these two will be able to edit the fields. We've also chosen to not hide this field from any user.
In the Text Area form we've chosen to add Instructions for the mobile app user to see. We've also chosen to hide this field from View Only users. In addition we've chosen to have this field Read-only for Supervisor and Dispatcher roles. 10 lines is what we've given users for adding additional notes plus we've checked this field to have a fixed width font when writing.
The final area of the settings pane is Visibility Setup. Here you can choose whether an element will be visible depending on your own criteria. In this example we have set the text area to be Required if a user has taken a photograph. For these conditions to work you'll have to enter a boolean expression.This expression will result in either true or false. Each side of the expression should be a binding or value to compare. String logical comparisons need to be surrounded by single quotes to evaluate as a string, example "False". This is where documents get interesting and become interactive depending on various conditions you've set.
Of course these are all just the settings we've chosen for this example Document. You have the freedom to pick and choose what elements and what settings you want to use for your company.
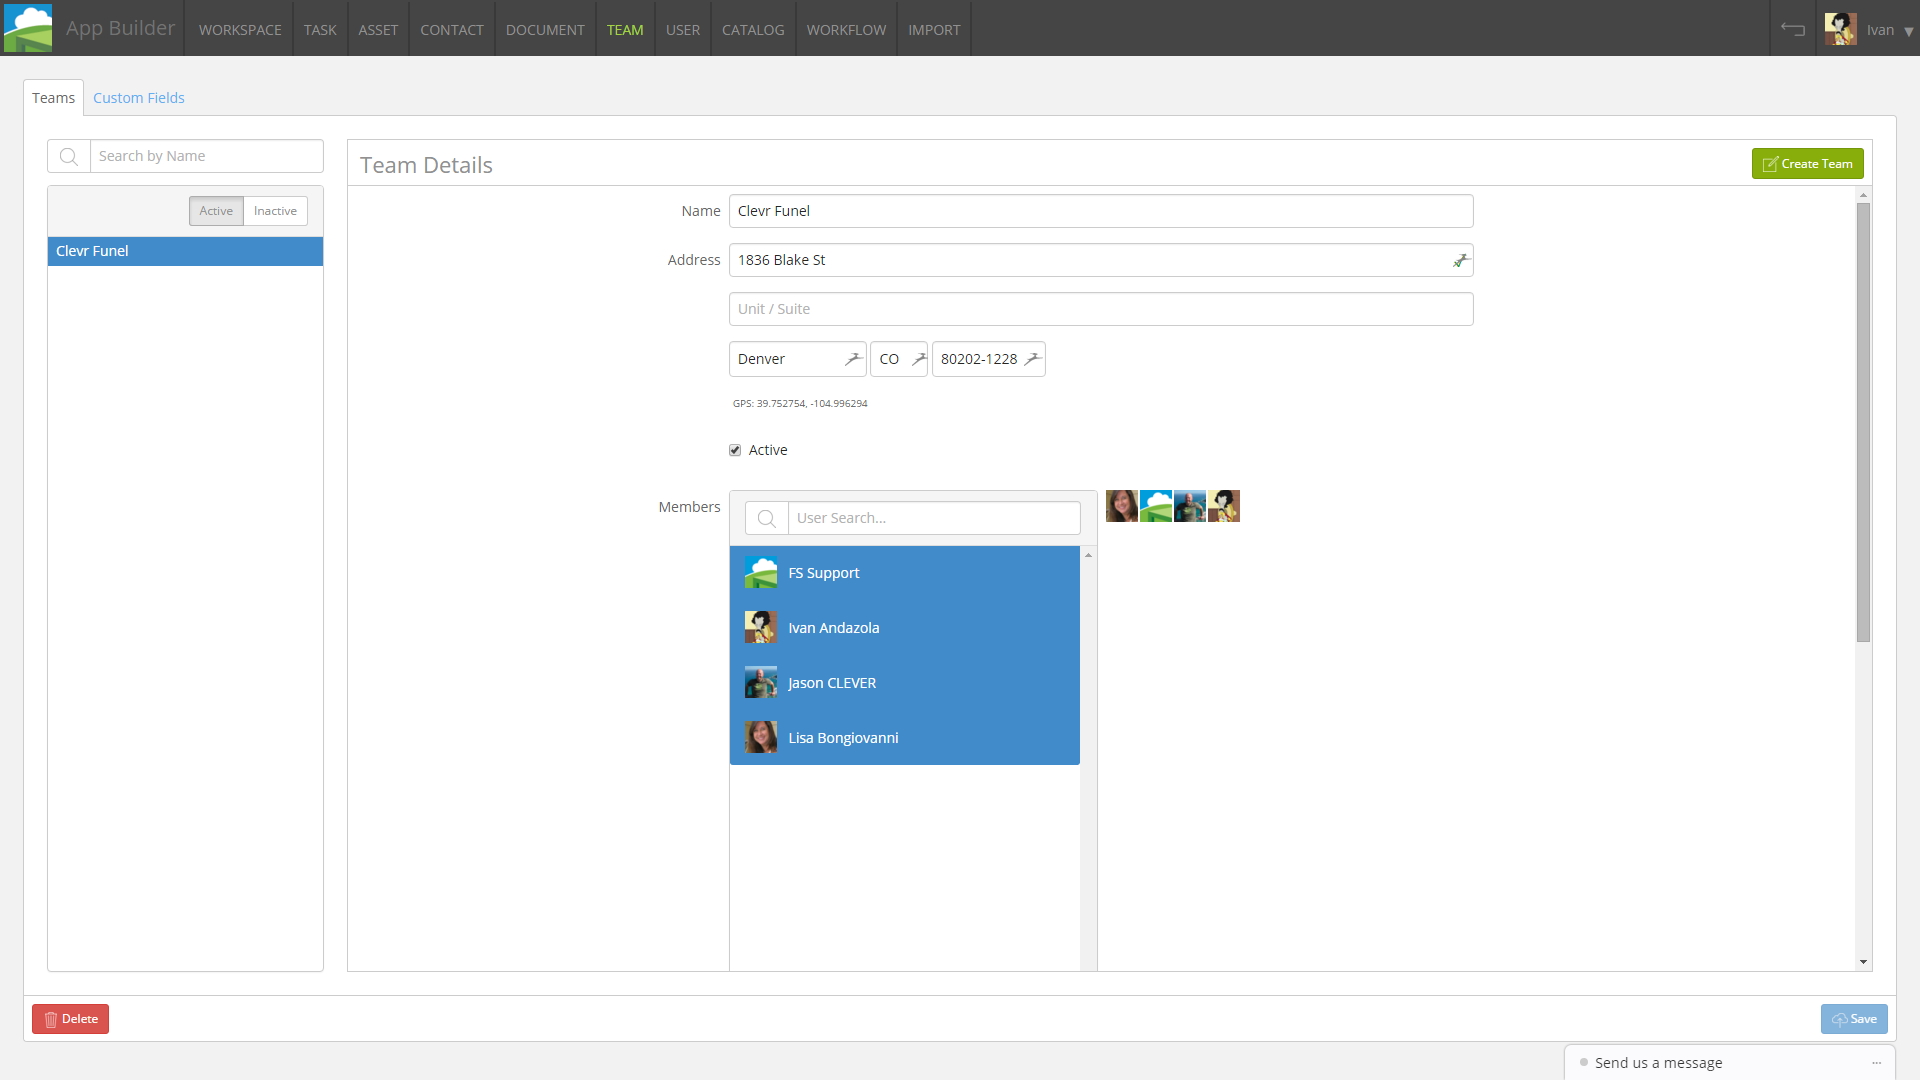
Team
The Team page is where you will be able to create and modify teams for your company. Perhaps you have people in many different departments and you want to be able to group them together for this application. You can assign and edit groups how you want. It's very easy. Simply click the Create Team button on the top right or choose an existing team from the left pane and start clicking users to add the this team. You'll see a list of users you can simply click on to assign them to a team. On this page you will also be able to assign team names, addresses, and whether the team is visible or not.
Click here to learn how to Create Teams.
User
This section of the app builder where you can add or remove team members from your Field Squared app. Learn how to add users to Field Squared.
Catalog
Catalogs allow you to pull data from a 3rd party database and sync it in the Field Squared platform. For more information contact us directly.
Workflow
The workflow builder is currently under construction. For more information contact us directly.
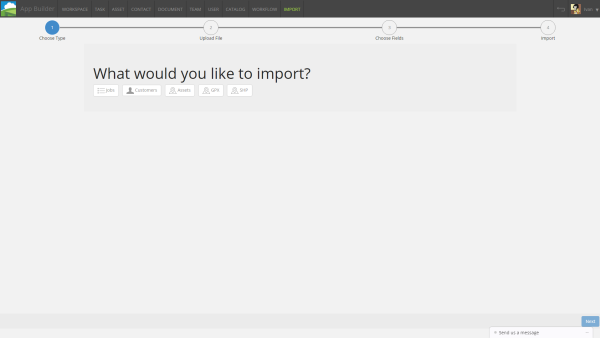
Import
In this page you can import a variety of different materials into your Field Squared app. Field Squared can import jobs, customers, assets, gpx data, and shape file data as well. You must provide files that Field Squared can understand. Jobs, Customers, and Assets can accept common .csv files. GPX and SHP accept .gpx and .shp files respectively.